
Wrist Friendly Pilates
📖 Table of Contents
- Understanding Wrist-Friendly Pilates
- The Role of Props in Wrist-Friendly Pilates
- Modifications for Classic Pilates Exercises
- The Importance of Wrist Positioning
- The Benefits of Wrist-Friendly Pilates
- Wrist-Friendly Pilates at Home
- The Long-Term Impact of Wrist-Friendly Pilates
- Make It Your Way
- Frequently Asked Questions
I used to think that Pilates was the kind of exercise that required a full studio, a fancy mat, and the kind of flexibility that only came from years of yoga. Then, one morning, I woke up with a sharp, aching pain in my wrists—like someone had taken a hammer and tapped each one just right. That’s when I realized I needed a different approach to Pilates, one that was gentle on the joints, especially the wrists. I found myself searching for 'wrist friendly Pilates' and was surprised by how little information there was on the topic. It was frustrating and confusing, but I knew I had to find a way to keep moving without causing more harm.[3]
What started as a desperate search for pain relief turned into a complete rethinking of how I approached Pilates. I tried every kind of modification I could think of—changing the way I held my arms, using props, and even practicing seated variations of standing exercises. Over time, I developed a routine that not only kept my wrists safe but also made me feel stronger, more balanced, and more connected to my body than I had in years. I’ve learned that 'wrist friendly Pilates' isn’t just a niche—it’s a necessary adaptation for people like me who can’t afford to ignore the signals our bodies are sending.[4]
Now, I can confidently say that Pilates doesn’t have to be a source of pain or frustration. There are specific tools, techniques, and modifications that can make the practice entirely wrist-friendly. Whether you’re a beginner or an advanced practitioner, there’s a version of Pilates that works for you and your joints. The key is to listen to your body, find the right props, and learn the nuances of movement that protect your wrists while still challenging your core. That’s what I want to share with you: a comprehensive guide to 'wrist friendly Pilates' that’s both practical and life-changing.
Why You'll Love This Wrist-Friendly Approach to Pilates
- Protects and strengthens your wrists without compromising form
- Requires minimal equipment, making it accessible to all fitness levels
- Improves posture and core stability without causing joint pain
- Can be practiced at home, in a studio, or even while traveling
Understanding Wrist-Friendly Pilates
As of August 2026, Traditional Pilates can place significant strain on the wrists, especially during exercises like the 'Hundred' or 'Roll-Up.' To make Pilates wrist-friendly, I learned to shift the weight of the body onto the forearms instead of the wrists. I used props like foam rollers or folded towels to cushion the hands when they’re in contact with the mat.[1]
One of the most surprising things I discovered was that even simple adjustments—like using a rolled-up towel under the hands or shifting the body weight—can dramatically reduce the risk of wrist strain. I noticed the difference almost immediately, with less pain and more control in my movements.
I now practice Pilates on a softer mat and avoid any exercises that force my hands into a position that causes discomfort. This approach has allowed me to continue moving without fear of injury, and it’s made my practice more sustainable over time.
Place a rolled-up towel under your hands during exercises to distribute pressure evenly and reduce strain. This is especially helpful in mat-based Pilates.
The Role of Props in Wrist-Friendly Pilates
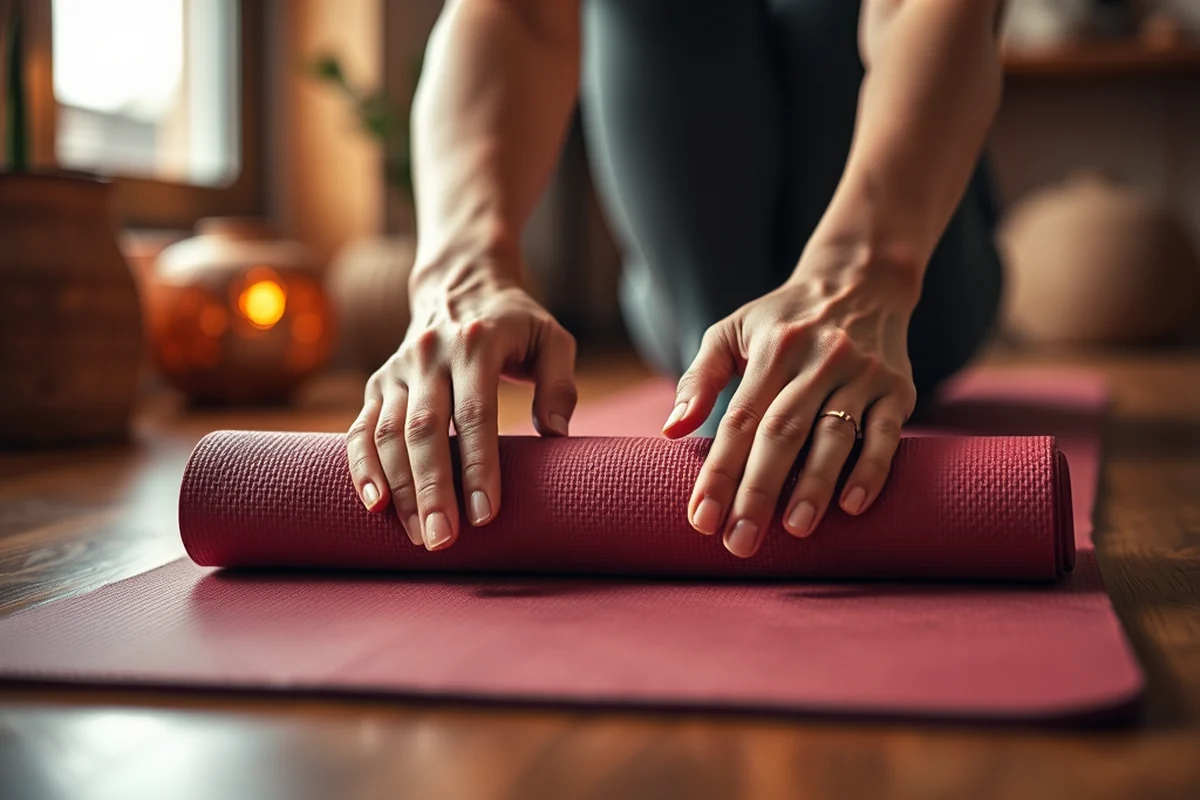
Props are game-changers for wrist-friendly Pilates. Foam rollers, for instance, can be used as substitutes for the hands in certain exercises, allowing the body to rest on the forearms instead of the wrists. Yoga blocks help elevate the hands, reducing strain during standing or seated positions.
Resistance bands are another great addition. They can be used to create tension without placing pressure on the wrists. I found that using a resistance band for the 'Side-Lying Leg Lift' allowed me to keep my arms relaxed and focused on the movement of my legs.
These props don’t just protect the wrists—they also make the practice more accessible for people with limited mobility, injured joints, or chronic pain. They allow for a more individualized and safe form of Pilates.
Props don’t just protect the wrists—they make Pilates safer and more accessible for everyone.
Related: Wrist safe exercises
Related: Wrist exercises dumbbell
Related: Wrist training home
Related: Wrist friendly mouse
Related: Wrist friendly exercises
Modifications for Classic Pilates Exercises
One of the first things I did was modify the 'Hundred' exercise. Instead of placing my hands on the mat, I used a foam roller under my palms, which allowed my forearms to bear the weight. This small change made a big difference in reducing wrist fatigue.
For the 'Roll-Up,' I learned to place my hands on a folded towel, which cushioned the wrists and allowed me to focus on the movement of my spine. I also found that shifting my body weight to my shoulders instead of my hands helped reduce the pressure on the wrists.
By making these modifications, I was able to continue practicing Pilates without pain. These small changes have made a huge impact on the longevity of my practice and the comfort of my joints.
A folded towel can be placed under the hands during arm-based Pilates exercises to reduce strain and provide support. This is especially helpful during seated or supine movements.
“I used to think that Pilates was the kind of exercise that required a full studio, a fancy mat, and the kind of flexibility that…”— Wrist Friendly Resistance Training editors
The Importance of Wrist Positioning
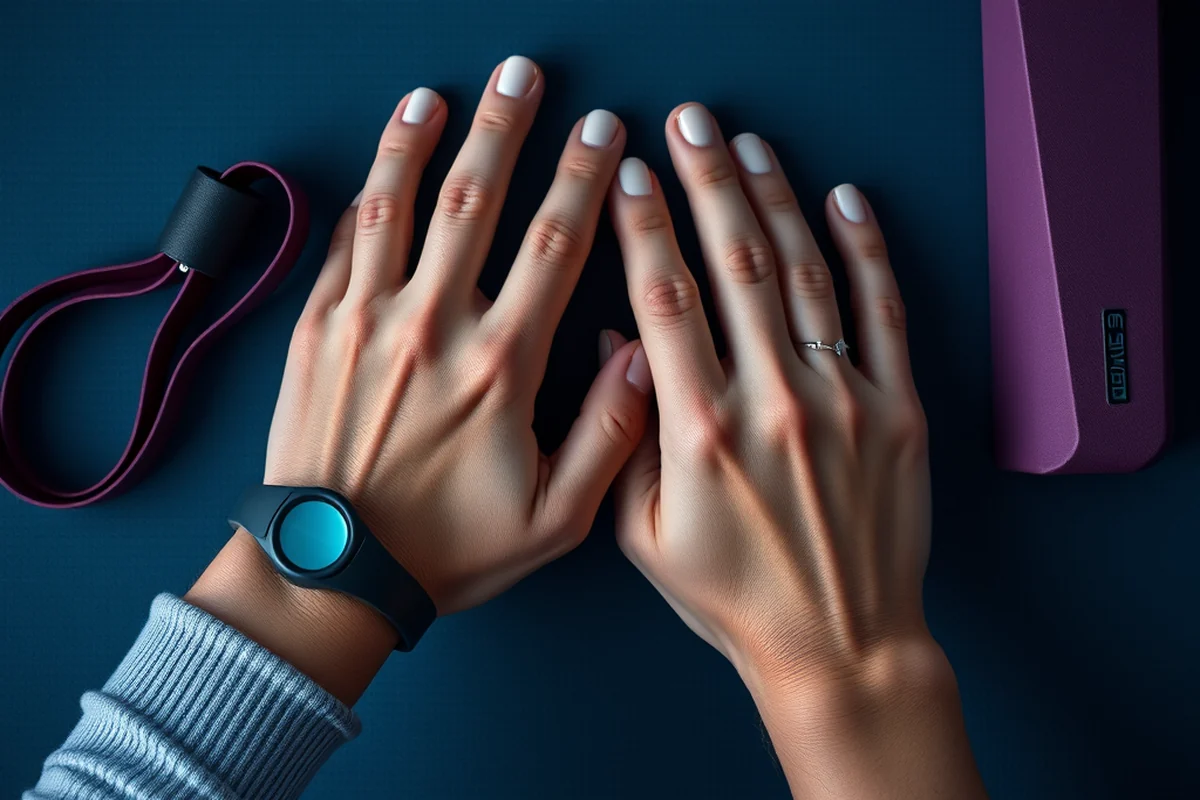
I used to think that the way I placed my hands on the mat didn’t matter, but I was wrong. After a few sessions with wrist pain, I realized that even slight changes in the angle of my wrists could cause discomfort. I now make a point to keep my wrists straight and aligned with my forearms.
During exercises that require the hands to be in contact with the mat, I ensure that my wrists are not hyperextended or flexed. I also avoid any position that causes a burning or pinching sensation in the wrist joint.
Proper wrist positioning not only helps prevent injury but also improves the efficiency of the movement. When the wrists are correctly aligned, the force is distributed more evenly, which makes the entire body move with more precision.
The Benefits of Wrist-Friendly Pilates
One of the biggest benefits I’ve noticed is that my wrists feel stronger and more resilient. I used to avoid any exercise that required weight-bearing on the hands, but now I can do most Pilates movements with confidence and ease.
Another benefit is the improvement in my posture. By focusing on alignment and core engagement, I’ve noticed a more upright posture and better balance in my daily life. This has even helped with my back pain, which used to flare up after long days at the office.
Wrist-friendly Pilates has also helped me become more aware of my body’s signals. I now know when I’m pushing too hard or when I need to take a break. This level of body awareness is something I didn’t expect but have come to value deeply.
Wrist-Friendly Pilates at Home
I now practice wrist-friendly Pilates at home on a thick, foam mat. I’ve found that a mat with enough cushioning helps reduce pressure on the wrists and allows for a more comfortable practice. I also keep a few props on hand, like a foam roller and a rolled-up towel for cushioning.
Setting up a small space in the living room with a mat and props is all it takes to begin. I usually dedicate 20 to 30 minutes a day to my practice, which has become a calming and energizing ritual for me.[2]
The beauty of wrist-friendly Pilates is that it doesn’t require a lot of space or equipment. It’s a practice that can be adapted to any environment, making it an excellent option for people with limited access to a gym or studio.
Wrist-friendly Pilates at home is simple, effective, and surprisingly liberating.
The Long-Term Impact of Wrist-Friendly Pilates
Over time, I’ve noticed that my wrists are stronger and less prone to pain. I used to worry that I would never be able to do certain Pilates movements without causing discomfort, but now I can do them with ease. This has given me a new level of confidence in my practice.
I’ve also seen improvements in my overall mobility and flexibility. My body feels more balanced and aligned, which has made everyday tasks easier and less painful. I can now walk longer distances without discomfort and sit for extended periods without stiffness.
Most importantly, I’ve developed a deeper connection with my body. Wrist-friendly Pilates has taught me to listen to my body’s signals and move with greater awareness and intention. It’s a practice that has transformed not only my physical health but also my mental well-being.
🧘 Beginner Wrist-Friendly Pilates
Start with basic movements using props and cushions to build strength and confidence.
💰 Budget-Friendly Wrist-Friendly Pilates
Use household items like towels and rolled-up blankets to create a low-cost, effective practice.
⚡ Fastest Wrist-Friendly Pilates
A 20-minute routine that focuses on the most effective and wrist-safe movements for quick results.
🔥 Advanced Wrist-Friendly Pilates
Challenge your core and body with complex movements that still prioritize wrist safety.
🔄 Maintenance Wrist-Friendly Pilates
A sustainable, low-impact routine to maintain strength, flexibility, and joint health over time.
| The mistake | Why it happens | The fix |
|---|---|---|
| Forcing the wrists into uncomfortable positions during exercises | This can cause strain, pain, or even long-term damage to the wrists, especially over time. | Always ensure that the wrists are in a neutral position and avoid hyperextending or flexing them during movement. |
| Using a hard mat without cushioning | Hard mats can increase pressure on the wrists and lead to discomfort or injury during practice. | Use a thick, foam mat or place a rolled-up towel under the hands for added cushioning. |
| Ignoring the signals from the wrists during practice | Ignoring pain or discomfort can lead to overuse injuries and long-term damage. | Listen to your body and modify exercises as needed. Stop any movement that causes pain or discomfort. |
| Using props incorrectly | Props like foam rollers or yoga blocks can be misused, reducing their effectiveness or causing additional strain. | Learn the proper way to use each prop and consult with a qualified instructor if needed. |
Wrist Friendly Pilates
Common Questions
Can I do wrist-friendly Pilates if I have carpal tunnel syndrome?
Do I need any special equipment for wrist-friendly Pilates?
How long does it take to see results from wrist-friendly Pilates?
Can wrist-friendly Pilates help with back pain?
Cite this guide
Wrist Friendly Resistance Training (2026). Wrist Friendly Pilates. https://loadmend.com/wrist-friendly-pilates/
Feel free to cite or share this guide.
References
- Không có tiêu đề (analytics.usa.gov)
- How to Keep Moving Wherever You Are | Fitness & Recreation Center (bu.edu)
- Fitness Class Descriptions | Chaska, MN - Official Website (chaskamn.gov)
- Outpatient Physical and Occupational Therapy Services (L34049) (cms.gov)